Daily Time Entry
Objective: Successfully enter daily time, meal breaks, mileage hours and miles driven.
Overview
You will track the following time throughout your day:
Regular time
Driving Time
Meal Break
Miles Driven
Then at the end of the day, enter all time activities individually in chronological order and one entry for miles driven.
Business Rule / Drive Time Rules
Commute time (to first store and from last store): Only time over 30 minutes should be recorded
All drive time between stores should be recorded
All time should be entered so day can be followed chronologically (including drive time)
Note / You will need to enter Drive Time and Mileage Driven for each day.
Steps
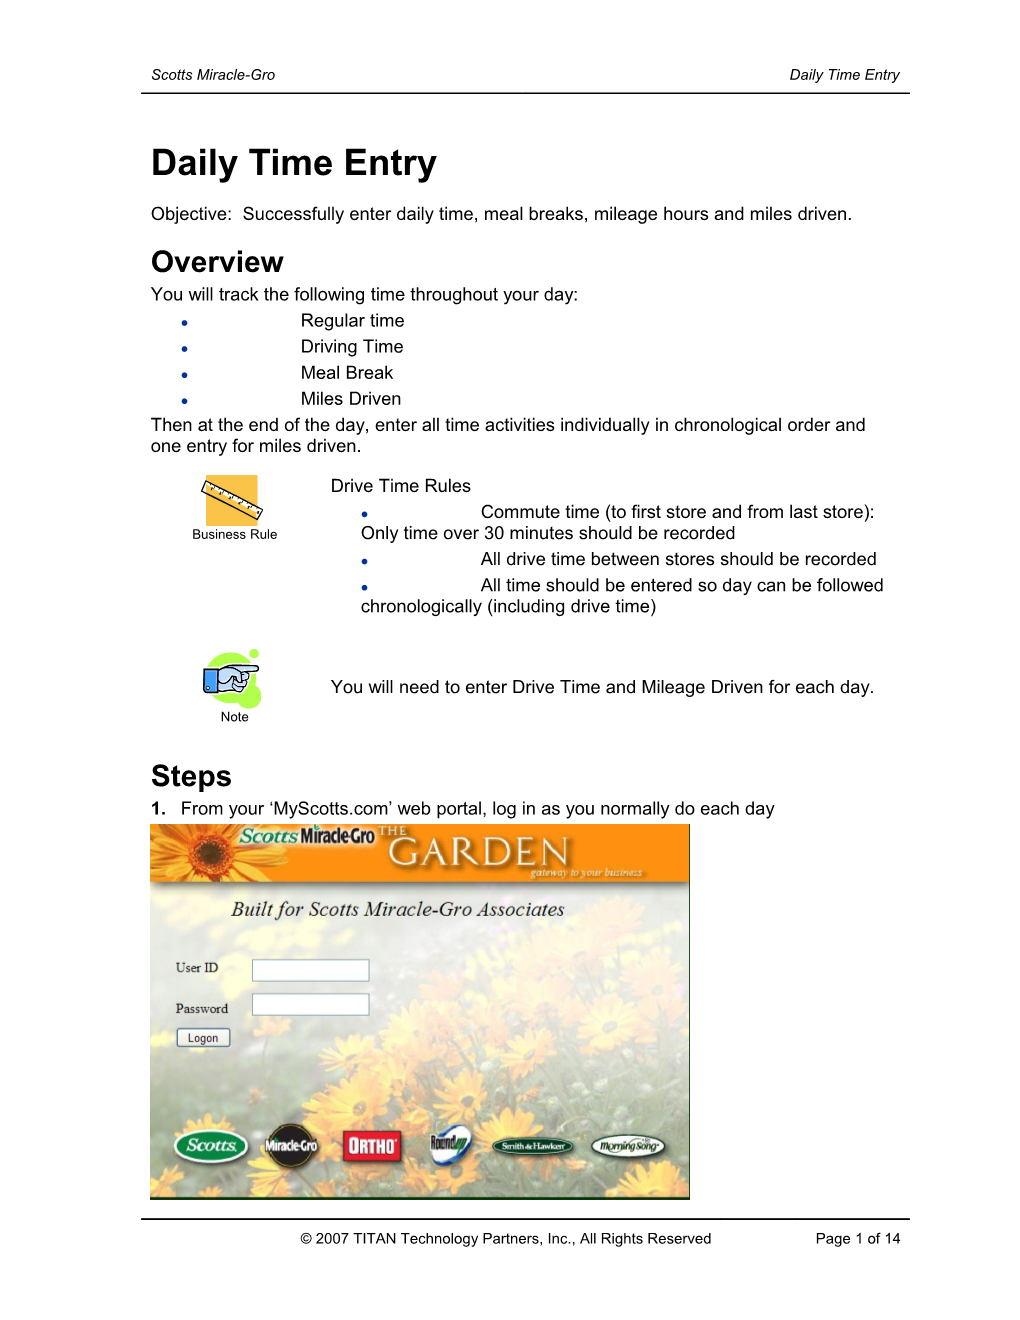
1.From your ‘MyScotts.com’ web portal, log in as you normally do each day
2.Click on the “Time Management” Link on your home screen in the Quick Links section
Working Time - SAP NetWeaver Portal - Windows Internet Explorer
3.Click
Working Time - SAP NetWeaver Portal - Windows Internet Explorer
4.Click
Warning/Gotcha / Although the default is the Weekly View tab, all time entry should be done on the Daily View tab.
Working Time - SAP NetWeaver Portal - Windows Internet Explorer
Warning/Gotcha / The Date will default to the first day of the period (Sunday). Be sure to change the date each time!
5.Click to view the calendar
Tip / You can also type in the date and then click Go. Be sure to fill it in as MO/DA/YEAR.
October 2008
6.Click the correct day – for this example, we are using October 20th and click
Note / Start by entering your first visit of the day.
7.Click the A/AType dropdown
Note / A/AType means Absence or Attendance Type.
All codes are listed. Be sure to only use cods that are applicable to your group.
8.Click
9.Click the Activity search icon
Tip / If you know the activity code, you can type it directly into the field.
Tip / If you know the activity code or description, you can enter it directly into the Activity or Description field. If you know part of the activity code or description, you can enter the known information and use the wildcard (*) to find values that contain the information entered. You can press Go on the box above to list all activity codes without entering any information.
10.Click
11.Click on the appropriate activity – in this example, click on
12.Click on the Store search icon
Tip / If you know the store code, you can type it directly into the Store field.
If you use the search icon, there will be a lot of stores listed. If you know some information such as Store, State, City or Territory, it is best to enter that information prior to clicking Go.
13.Click
14.Click on the store you visited, in this example, Latham or
15.Click on the From field
16.Enter the time you started work at that store
Key Learning Point / You must use Military time. For example, 8:00 a.m. is entered as 08:00 and 2:00 pm is entered as 14:00. For this example, we will use 8:00 a.m. to 4:00 p.m. entered as 08:00 and 16:00. See your Quick Reference Card for military time translation.
17.Click on the To field
18.Enter the time you finished work at that store (again, in military time), and before your meal break (if any)
19.Click on the A/AType dropdown
20.Click
21.Click on the From field
22.Enter the time you started your drive to another location (in military time – see QRC as necessary)
23.Click on the To field
24.Enter the time you finished drive (again, in military time), and before your meal break (if any)
25.Continue to enter time before your meal break
Note / This example shows the rest of the morning lasting from 9:12 to 12:00 before taking a meal break.
26.Enter a meal break – click from the A/AType dropdown
Business Rule / Meal Breaks must be entered for compliance reasons. Meal Breaks are still unpaid breaks. You will see it as part of the total hours, however, pay will continue to be based on time worked, excluding meal breaks. For detail on breaks, reference Meal and Rest Periods Policy N-HR-08-02 on MyScotts.com
27.Enter the time for your meal – clickon the From field
28.Enter the time you started your meal (in military time – see QRC as necessary)
29.Click on the To field
30.Enter the time you finished your meal (again, in military time)
31.Continue to enter the rest of your day
Note / In this example, we had our meal between 1200 hours and 1300 hours. Then we continued to work at the same store for the rest of the day – 1300 hours to 1700 hours.
32.At the end of the entries for a day, enter the total miles driven – click on the Wage Type search icon on the next line
Tip / You can type 1910 directly into the field.
Warning/Gotcha / Be sure to only use code 1910 Miles Driven to record mileage.
33.Click
34.In the Content box, enter the number of miles driven
Warning/Gotcha / Do not use the Save as Template button. Click Review on this screen to get to the screen where you save this timesheet.
35.Click
36.Click
Note / The column “Cell Content” or “Content” is used for:
For hours, it is the Total Hours for the activity
For Miles Drive, it is the Total Mileage for the day
Note / You can enter as many lines as needed for a day
Only 7 rows display initially
If more are required, save the first set of entries and you will see more rows added to the table
37.Click
Working Time - SAP NetWeaver Portal - Windows Internet Explorer
38.Click
SAP NetWeaver Portal -- Webpage Dialog
39.Click
Note / You have completed this task.
© 2007 TITAN Technology Partners, Inc., All Rights Reserved / Page 1 of 13
